Enable Python Virtual Enviornment in Visual Studio Code on Windows
Install Python
Go to Microsoft Store and search for Python. Install the latest Python version.
Install Python Extension in Vs Code
- Open Vs Code and go to file > Preferences > Extensions
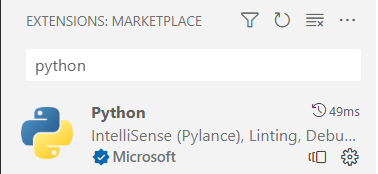
- Search for Python and install the Python shown in the snapshot below.

- From the Vs Code top menu, click on Terminal and click "New Terminal"Create Python Virtual Environment
- In the Terminal window, type following command
- python3 -m venv venvpy310 and hit Enter
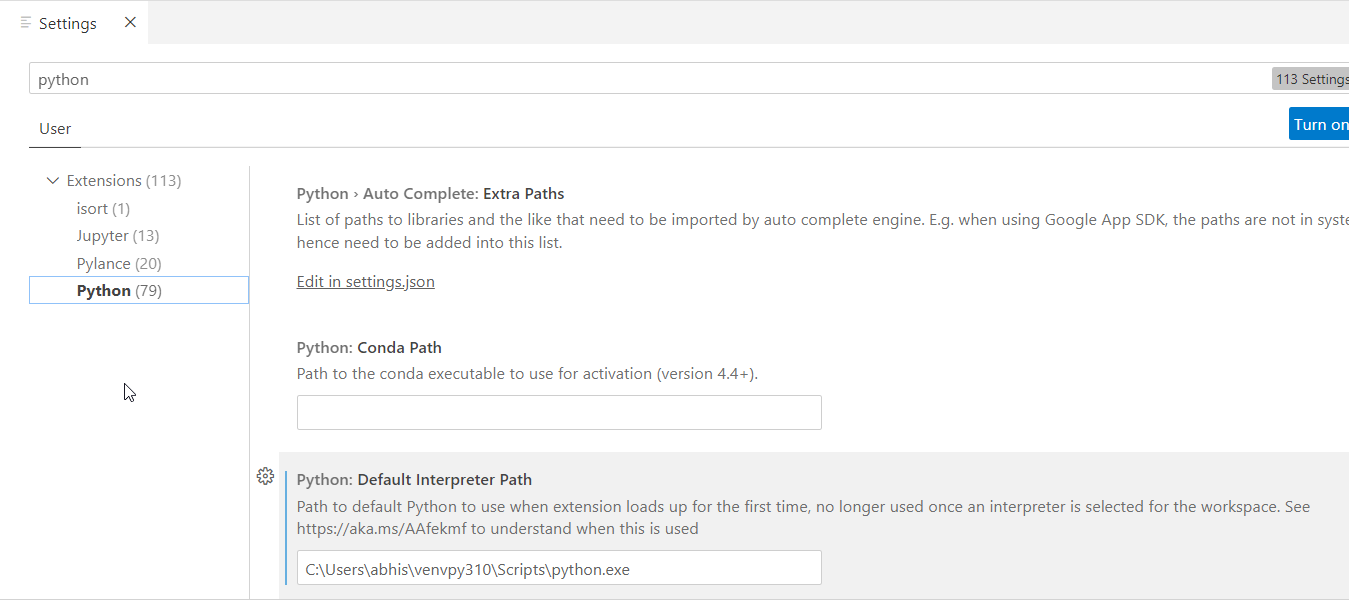
- Go to file > Preferences > Settings and search for python.
- Then enter the path of Python Interpreter from virtual environment folder that you just created as shown below.

- Close the Vs Code and Reopen.
- Now your terminal should have Python Virtual environment initialized automatically as shown below.

Note you might run in to following error on Windows Power shell...
vscode Activate.ps1 + FullyQualifiedErrorId : UnauthorizedAccess
To resolve this...
Open Windows power shell and run following command...
Set-ExecutionPolicy -ExecutionPolicy RemoteSigned -Scope CurrentUser
Close and Re-open Vs Code, Now everything should work fine.
Related Notebooks
- How To Code RNN and LSTM Neural Networks in Python
- Learn And Code Confusion Matrix With Python
- How To Install Python TensorFlow On Centos 8
- How To Run Code From Git Repo In Collab GPU Notebook
- How To Add Regression Line On Ggplot
- How To Install R Sparklyr H2O Tensorflow Keras On Centos
- Pandas group by multiple custom aggregate function on multiple columns
- Append In Python
- Dictionaries In Python
- Activation Functions In Python