Introduction To Python Tkinter GUI Programming
Commonly there are 2 types of interfaces for desktops - command-line interface (CLI) where users interact with the system by writing commands, and a Graphical User Interface (GUI) where users interact with the system through visual widgets such as buttons, menus, windows etc. Python provides a lot of libraries to create cross-platform GUIs such as Tkinter, Pymsgbox, Pyqt, and much more. In this series of articles, we will study the Tkinter package.
In this article, we will learn
● Basics of Tkinter
● Introduction to Tkinter Widgets
● Tkinter Hello World App
● Tkinter Button
● Tkinter Entry Widget
Basics Of Tkinter
Tkinter is an Inbuilt library commonly used for GUI development. The underlying implementation of Tkinter is in C language.
The basic structure of the Tkinter program is like this...
- Import tkinter
- Create root i.e. main window of App
- Attach widgets such as Buttons, Menu, Inputs etc.
- Create Infinite event loop
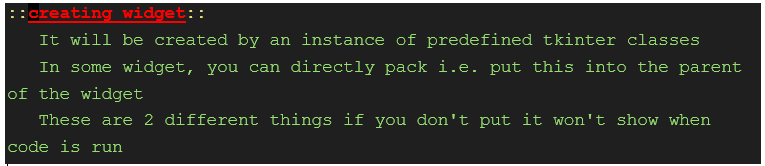
Introduction to Tkinter Widgets
Widget is an entity such as GUI button, sidebar, menu that provides user interaction with operating system.
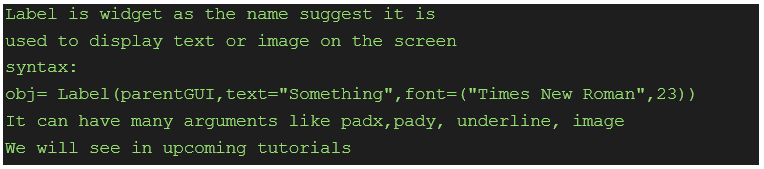
Label Widget
Let’s create our first Tkinter app.
Tkinter hello world App
import tkinter as tk

root= tk.Tk()
# root is main window of GUI, it is the parent node.
root.geometry("400x300")
'''
syntax:
window.geometry("widthxheight")
'''
root.title("First GUI application")
'''
syntax:
window.title("Title you want")
'''
label = tk.Label(root, text="Hello World", font=("Times New Roman",23))
label.pack(side='bottom') # Packing is must.
root.mainloop()# the infinite event loop. This will run in infinite loop.
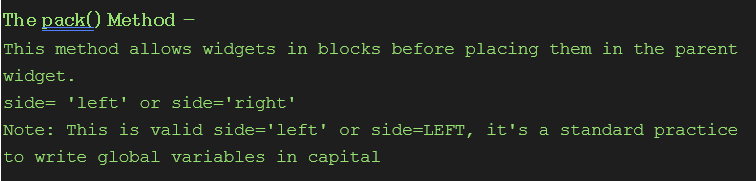
You must Pack the widget you created otherwise it will not be visible on the screen.
Here is the official documentation about pack() method...
Output:

Next we will look in to...
- How to create buttons
- How to take input from user
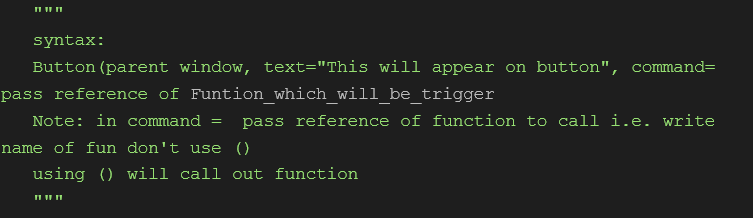
Tikinter Button
Tkinter Create Button
Check out the below Syntax ...
btn = tk.Button(root,text="Click Me",command=Funtion_which_will_be_triggerd)
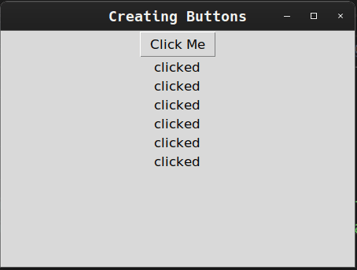
Code
import tkinter as tk
def fun():
   """
   This function will be triggered when we click button
   """
   tk.Label(root,text="clicked").pack()
   # this is another method for packing a widget ...
   # Don't create instance of Label but the disadvantage is that we can't reuse it
if __name__ == "__main__":

   # Creating main window
   root= tk.Tk()
   root.geometry("450x300")
   root.title("Creating Buttons")
   btn = tk.Button(root,text="Click Me",command=fun)
   """
   syntax:
      object= tk.Button(parent window, text="This will appear on button", command= pass reference of fun)
   """
   btn.pack()
   # pack button
   root.mainloop()
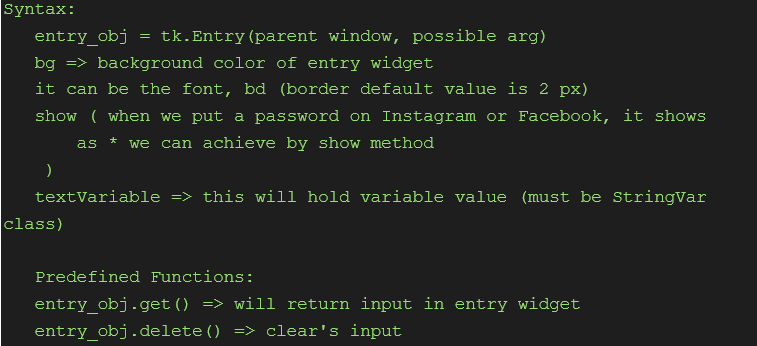
Tkinter Entry Widget
Entry widget is used to capture the input from user.
Basic Syntax:
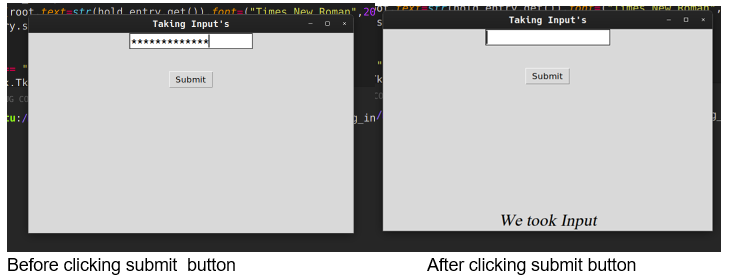
Code
import tkinter as tk
def fun():
   global hold_entry
   tk.Label(root,text=str(hold_entry.get()),font=("Times New Roman",20,'italic')).pack(side='bottom')
   hold_entry.set("") # This would clear the input value.
if __name__ == "__main__":
   root = tk.Tk()
   root.title("Taking Input's")
   root.geometry("650x400")
   # our app will take one input
   hold_entry = tk.StringVar() # to hold input value of entry
   etry= tk.Entry(root,textvariable=hold_entry,font=("Source code Pro",12,'bold'),show="*")
   btn=tk.Button(root,text="Submit",command=fun)
   etry.pack()
   tk.Label(root,text="\n").pack() # for additional space
   btn.pack()
   root.mainloop()
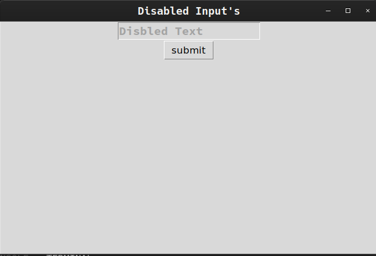
We can disable the input option by passing DISABLED value to argument `state` of the entry widget
Demo code
import tkinter as tk
def fun():
   pass #function to do nothing
if __name__ == "__main__":
   root = tk.Tk()
   root.title("Disabled Input's")
   root.geometry("650x400")
   hold_entry= tk.StringVar()
   # create variable to hold value to be shown
   hold_entry.set("Disbled Text");
   etry= tk.Entry(root,textvariable=hold_entry,font=("Source code Pro",12,'bold'),state='disabled')
   etry.pack()
   tk.Button(root,text="submit",command=fun).pack()
   root.mainloop()
Wrap Up
In this post, we have covered the basics of Tkinter. Stay tuned for more posts on GUI programming using Python Tkinter!
Related Notebooks
- Introduction To Ggplot2
- Introduction To R DataFrames
- How To Convert Python List To Pandas DataFrame
- How to Upgrade Python PIP
- How To Use Python Pip
- Best Approach To Map Enums to Functions in Python
- Python Pandas String To Integer And Integer To String DataFrame
- How To Install Python With Conda
- Object Oriented Programming In Python
- How to Plot a Histogram in Python